Create, Edit, and Share a Bookshelf
Bookshelves are a great way to organize your books. You can also edit and rename your bookshelves, as well as share them with your teachers.
If you want to jump to a section, use the links below:
Add Resources to your Bookshelf
Share a Bookshelf with a Teacher
Access Bookshelves
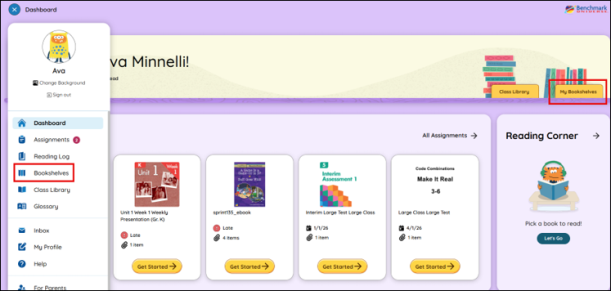
You can access bookshelves by using the Bookshelves button and going to the Bookshelves page.
Create a Bookshelf
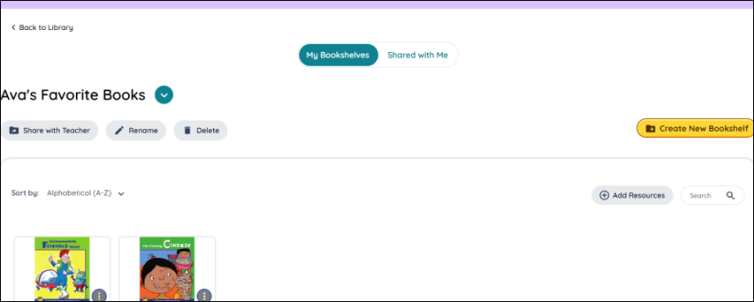
To create a new bookshelf, follow the steps below:
- Use the Bookshelves button.
- Use the Create New Bookshelf button.
- Type the name of the bookshelf in the text box below.
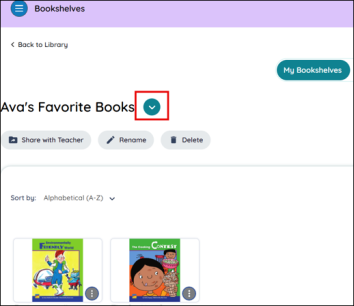
- The Bookshelf appears in the My Bookshelves section. You can switch between bookshelves by using the arrow icon next to your current bookshelf.
|

|
Bookshelf blocks are listed in alphabetical order. |
Add resources to a bookshelf
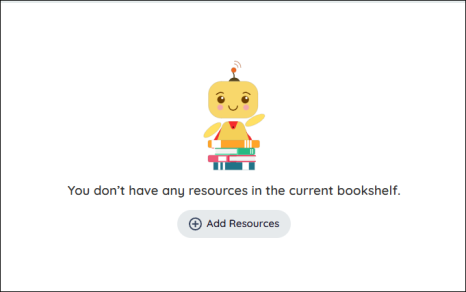
You can add resources by using the Add Resources button in the My Bookshelves.

You can then add resources to a bookshelf by using the Resource Options modal.
- Find the resource you want to add to the bookshelf.
- Click the More Options icon on the resource thumbnail. The Resource Options modal appears.
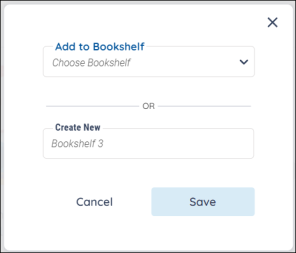
- Select the Add to Bookshelf dropdown.
- Select a bookshelf from the dropdown and select the Save button to add your resource. If you’d like to create a new bookshelf and add your resource to it, just select Save and your resource will be added to a new bookshelf with a default name. If you want to name the new bookshelf, type the name in the text field.

|
Drag a resource to the Bookshelves icon to add it to an existing bookshelf or create a new bookshelf to add it to. You can also select more than one resource at a time by selecting the check mark at the top left of the thumbnail. |
Edit a bookshelf
You can change a bookshelf name, remove resources, or delete bookshelves by going to the Bookshelves page and clicking on the icon in the bookshelf next to its title.
Edit a bookshelf name
-
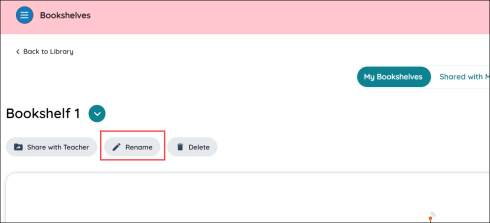
Find a bookshelf and click the More Options icon.
-
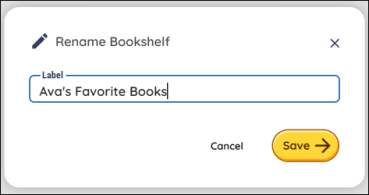
Select the Rename icon and change the bookshelf name in the text box.
Delete a bookshelf
-
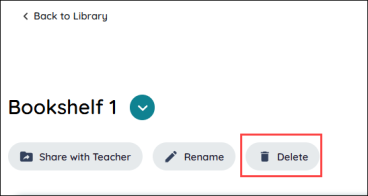
Find a bookshelf and click the More Options icon.
-
Make sure you have selected the correct bookshelf before deleting.
-
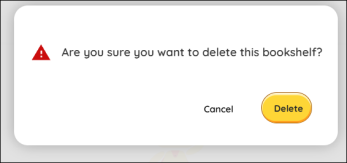
Select Delete Bookshelf below the bookshelf name.

|
Deleted bookshelves cannot be restored. |
Remove resources from a bookshelf
-
Find a resource on your bookshelf.
-
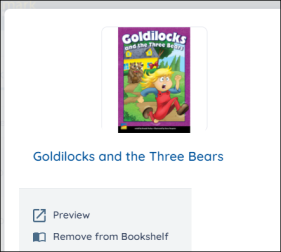
Click the More Options icon on a book. The Resource Options modal appears.
-
Click Remove from Bookshelf from the menu below the title. Note that if you are trying to remove a customization from a bookshelf, the Remove from Bookshelf option will be under the Customization resource title on the right.
View a Shared Bookshelf
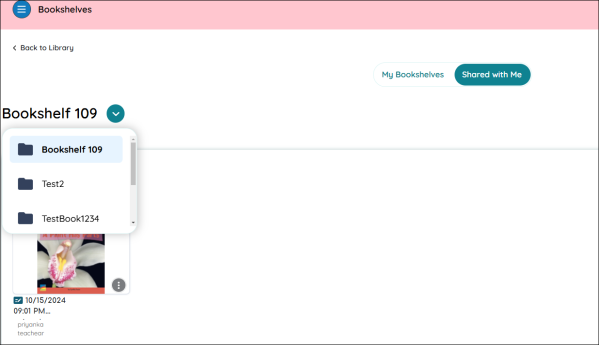
You can view a bookshelf that has been shared with you by selecting the Shared with Me button. Toggle between shared bookshelves by using the arrow icon next to the bookshelf name.
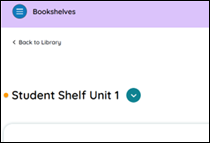
Recently-shared bookshelves have an orange icon next to their names.
Share a Bookshelf with a Teacher
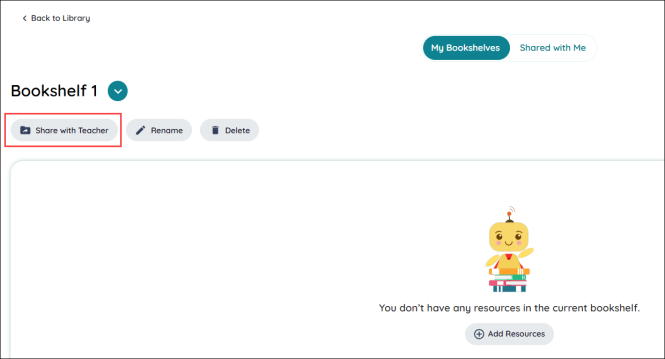
Share a bookshelf you have created with a teacher by following these steps:
- Select the Share with Teacher button.
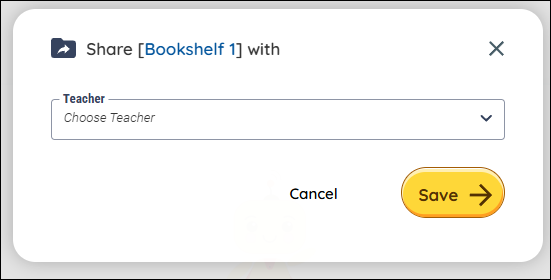
- Choose a teacher from the dropdown menu and select Save to share your selected bookshelf.
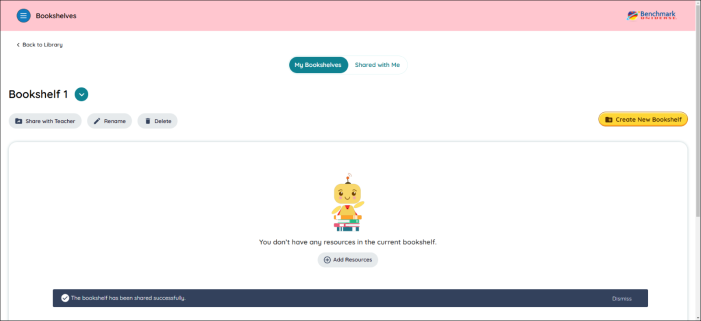
You’ll see a message telling you that you’ve shared your bookshelf.
Last Updated: January 06, 2025
